How to Clean Your Dog's Ears Safely at Home
This article may contain affiliate links. If you make a purchase through these links, we may earn a small commission at no extra cost to you. This helps us keep creating free content.

If there is one area of dog grooming that gets overlooked more than any other, it is ear cleaning. Most of us remember to trim nails, brush coats, and schedule dental cleanings, but ears tend to be an afterthought until something goes wrong. And when something goes wrong with ears, it usually means a painful infection, an expensive vet visit, and a dog who starts running the moment you reach toward their head.
The good news is that keeping your dog's ears clean is straightforward once you know the routine. A few minutes every week or two can prevent the vast majority of ear problems before they ever start.
Why Ear Cleaning Matters
A dog's ear canal is shaped like an L, with a vertical canal that drops down and then makes a sharp turn inward toward the eardrum. This shape is great for funneling sound, but it also creates a warm, dark pocket where moisture, wax, bacteria, and yeast love to accumulate.

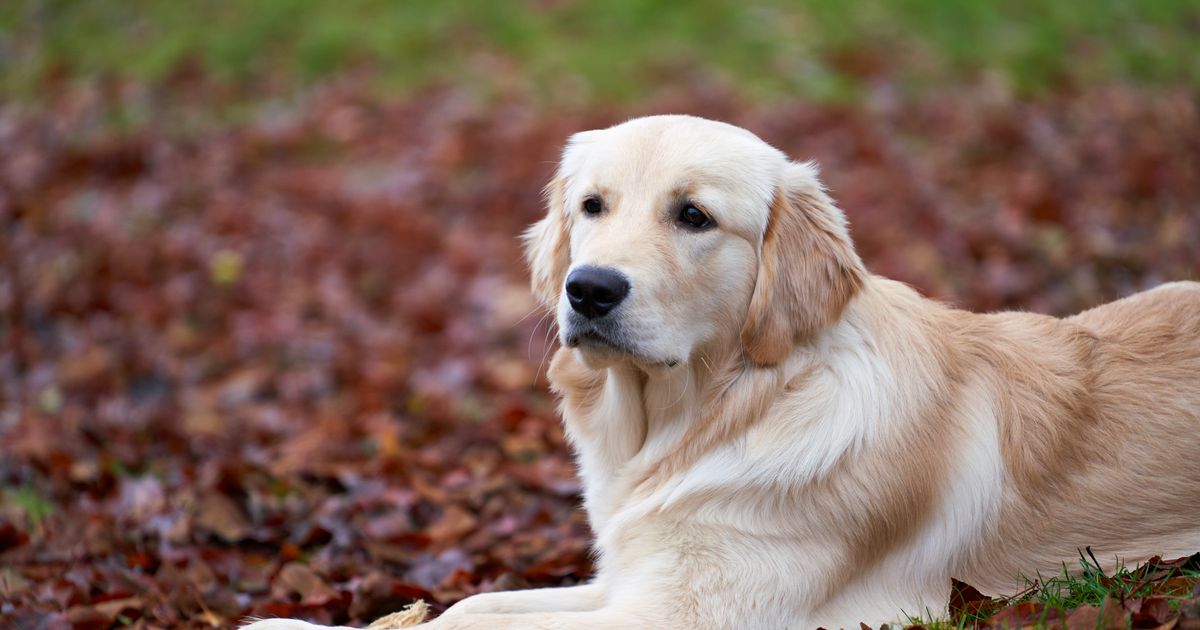
Dogs with floppy ears like Cocker Spaniels, Basset Hounds, and Golden Retrievers are especially prone to problems because the ear flap traps humidity inside the canal. Dogs that swim frequently, dogs with allergies, and breeds with hairy ear canals are also at higher risk.
What You Need
- A vet-approved ear cleaning solution. Look for products specifically formulated for dogs. Avoid hydrogen peroxide, alcohol, or vinegar, all of these can irritate the delicate skin inside the ear canal.
- Cotton balls or gauze pads. Never use cotton swabs or Q-tips inside your dog's ear. You cannot see the eardrum, and pushing a swab too far in can cause serious damage.
- Treats. You want your dog to associate ear cleaning with something positive. Have high-value treats ready before you start.
- A towel. Your dog will shake their head during the process. You will want something nearby to protect yourself and your walls.
Step-by-Step Ear Cleaning
The entire process takes about five minutes per ear once you and your dog are comfortable with it. Here is how to do it right.
Step 1: Get Comfortable
Choose a quiet space where your dog feels relaxed. Sit on the floor with your dog beside you, or place a small dog on a table with a non-slip mat. Give a treat just for sitting calmly. If your dog is anxious, spend a few sessions simply handling their ears and rewarding them before you introduce any cleaning solution.
Step 2: Inspect the Ear
Gently lift the ear flap and look inside. A healthy ear is pale pink, has minimal wax, and does not smell bad. Light brown wax in small amounts is completely normal. If you see redness, swelling, excessive dark wax, or smell anything foul, skip cleaning and call your vet.
Step 3: Apply the Solution
Hold the ear flap up with one hand and squeeze enough cleaning solution into the ear canal to fill it. You want to see the liquid in the canal, do not be shy with the amount. Your dog will probably try to shake at this point. Keep a gentle hold on the ear flap to prevent it.
Step 4: Massage the Base
With the solution in the ear, use your fingers to gently massage the base of the ear for about 20 to 30 seconds. You should hear a squishing sound as the solution loosens debris and wax inside the canal. Most dogs actually enjoy this part.
Step 5: Let Them Shake
Release the ear flap and let your dog shake their head. This is where the towel comes in handy. The shaking helps bring loosened debris up and out of the ear canal. It is a messy but essential part of the process.
Step 6: Wipe Clean
Use a cotton ball or gauze pad to gently wipe out the visible part of the ear canal and the inside of the ear flap. Remove any debris and excess solution you can see. Do not push anything down into the canal, only clean what you can see.
How Often Should You Clean?
This depends on your individual dog. As a general guideline:
- Most dogs: Every 2 to 4 weeks
- Floppy-eared breeds: Every 1 to 2 weeks
- Dogs who swim regularly: After every swim
- Dogs with allergies: Weekly, or as your vet recommends
Over-cleaning can be just as problematic as under-cleaning. If you strip away too much natural wax, you remove the ear's protective barrier and can actually increase the risk of infection. When in doubt, ask your vet how often is right for your dog's breed and lifestyle.
Building a Positive Association
The biggest challenge with ear cleaning is usually not the technique, it is getting your dog to cooperate. Start young if you can. Puppies who have their ears handled regularly grow into adults who tolerate cleaning without a fuss.
For older dogs who have never had their ears cleaned or who have had bad experiences, take it slow. Spend a week just touching their ears and giving treats. The next week, let them sniff the cleaning solution. Gradually work up to the full process. Patience now saves you from wrestling matches later.
Ear cleaning is one of those small maintenance tasks that makes an outsized difference in your dog's comfort and health. A few minutes of your time every couple of weeks can save your dog from the pain of an infection and save you from a costly vet bill. Once it becomes part of your routine, you will wonder why you ever skipped it.
🩺Disclaimer: This article is for informational purposes only and is not a substitute for professional veterinary advice, diagnosis, or treatment. Always consult a qualified veterinarian before making changes to your pet's diet, health routine, or medication.
Published by the Care4Dog editorial team. Published September 15, 2026.
Editorial responsibility: see Imprint.
Spotted an error or have something to add? corrections@care4dog.com
Paw-some Tips, Weekly
Nutrition guides, health alerts, and training tricks — delivered every Thursday.
🎁 Free bonus: 50 Toxic Foods Dogs Must Avoid (PDF)
You might also like

Dog Grooming at Home vs. Professional Groomer: Which Is Right for You?
Should you groom your dog yourself or book a professional? This honest comparison covers cost, quality, stress levels, and which tasks are better left to the pros.

How to Trim Your Dog's Nails Safely at Home
Overgrown nails can cause pain and posture problems for your dog. Learn how to trim them safely at home with the right tools, technique, and confidence.

How to Trim Dog Nails Without Fear (Yours or Theirs)
Nail trimming does not have to be a battle. This step-by-step guide helps you build confidence and keep your dog calm.
📖 All articles on Care4Dog →
Browse our other articles